A Crewel Lesson
The proof sheets of the Heveningham Hall 2015 book arrived last week from the printers. As intended it had been prepared and printed to enable the book to be bound in a series of forty-four signatures, each of these signatures containing three folded sheets. Without binding the sheets, laying flat as they do, don't make too much sense as what would usually be full spread photographs are split down the middle and seemingly joined with another photograph. The process of folding and sewing these sheets in the intended way brings the narrative and flow of the photographs together.
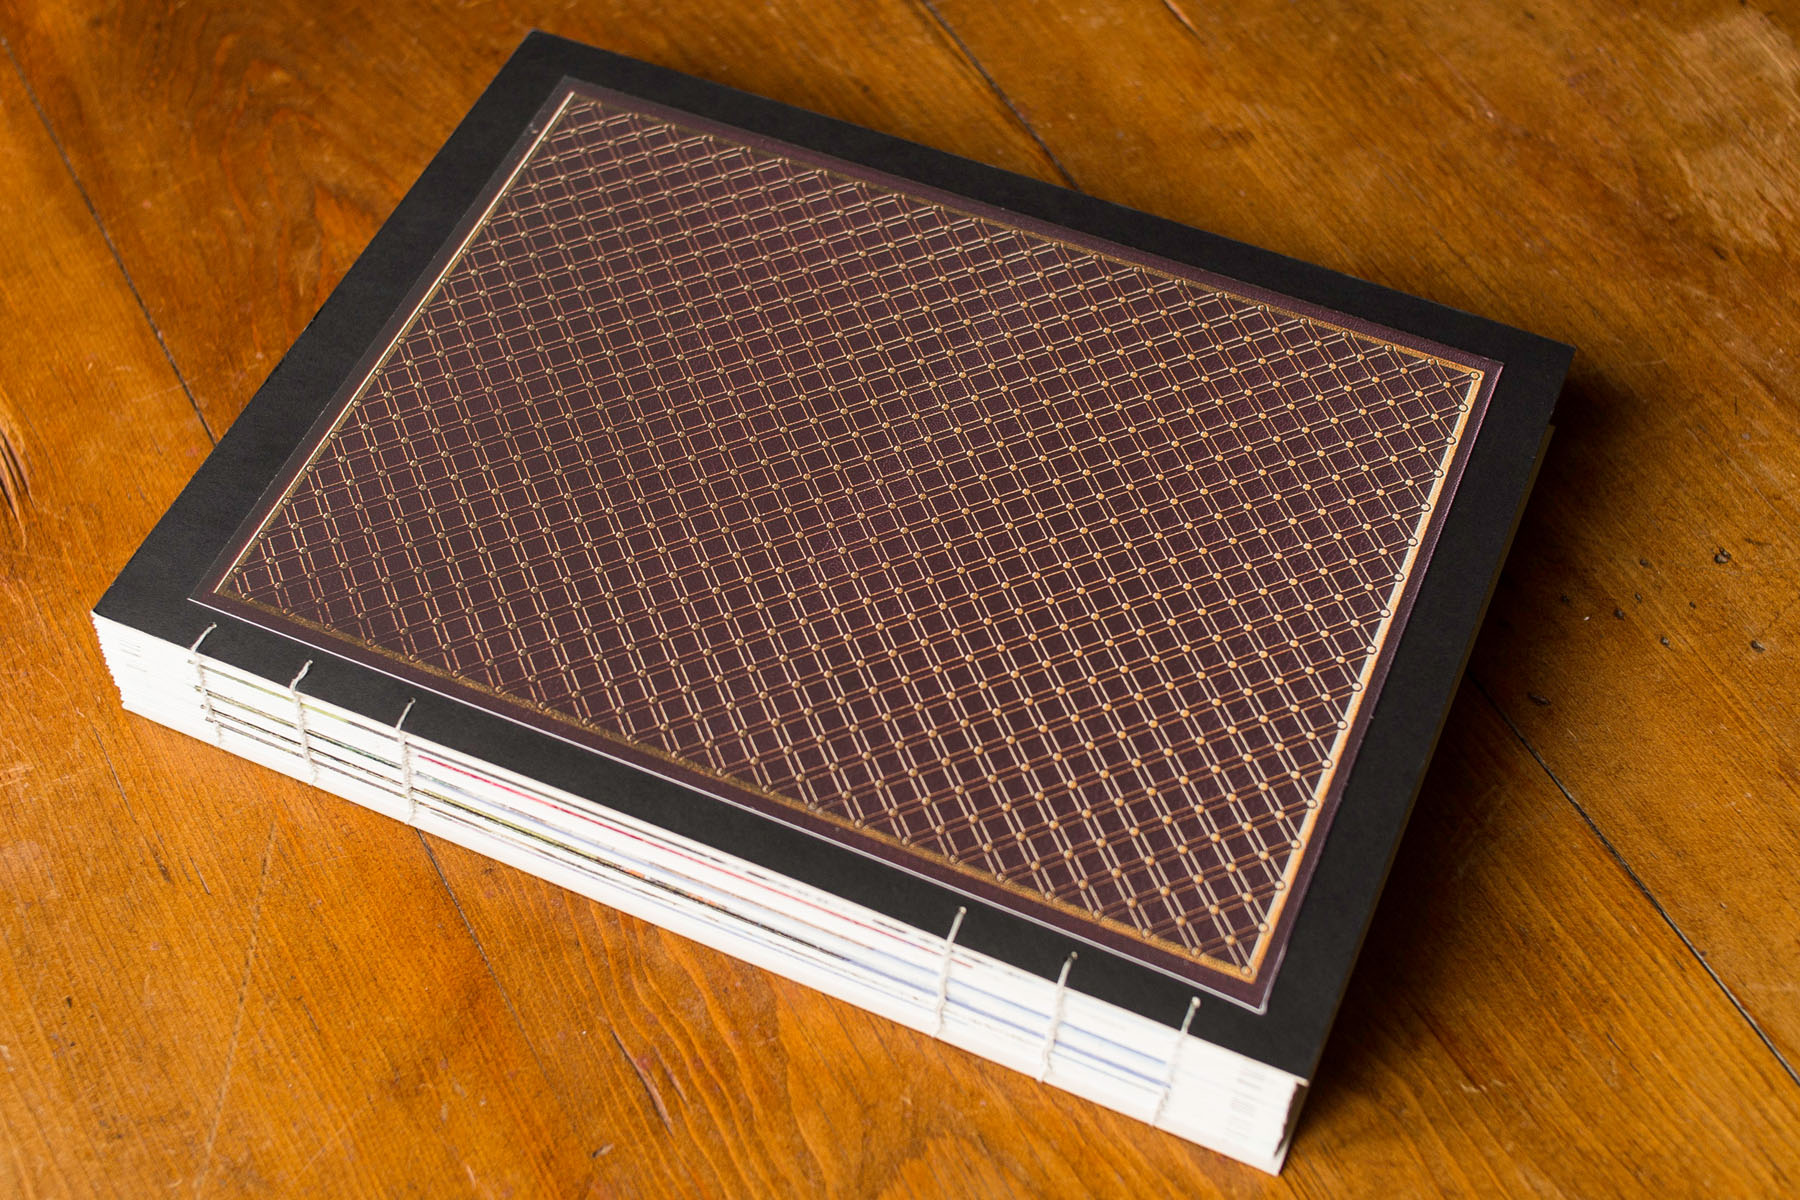
I needed to make a mock-up of the book (which will be produced in an edition of twenty) in order to show the layout and check colours and details. I documented this process and hope to provide a guide here to making a coptic stitched book. It is a very enjoyable and easy process once one gets to grips with it.
Stage 1 - Folding, Marking & Piercing
Each sheet is folded down the centre with a bone folder. Once all sheets are folded and arranged into signatures of three sheets they are laid on top of one anther in the correct order.
The necessary tools are assembled:
1. A Steel Ruler
2. A Bone Folder
3. Lined or Waxed Thread
4. Stiff Card for the Cover
5. A Pencil
6. A Crewel
7. A Cutting Knife
8. An Awl
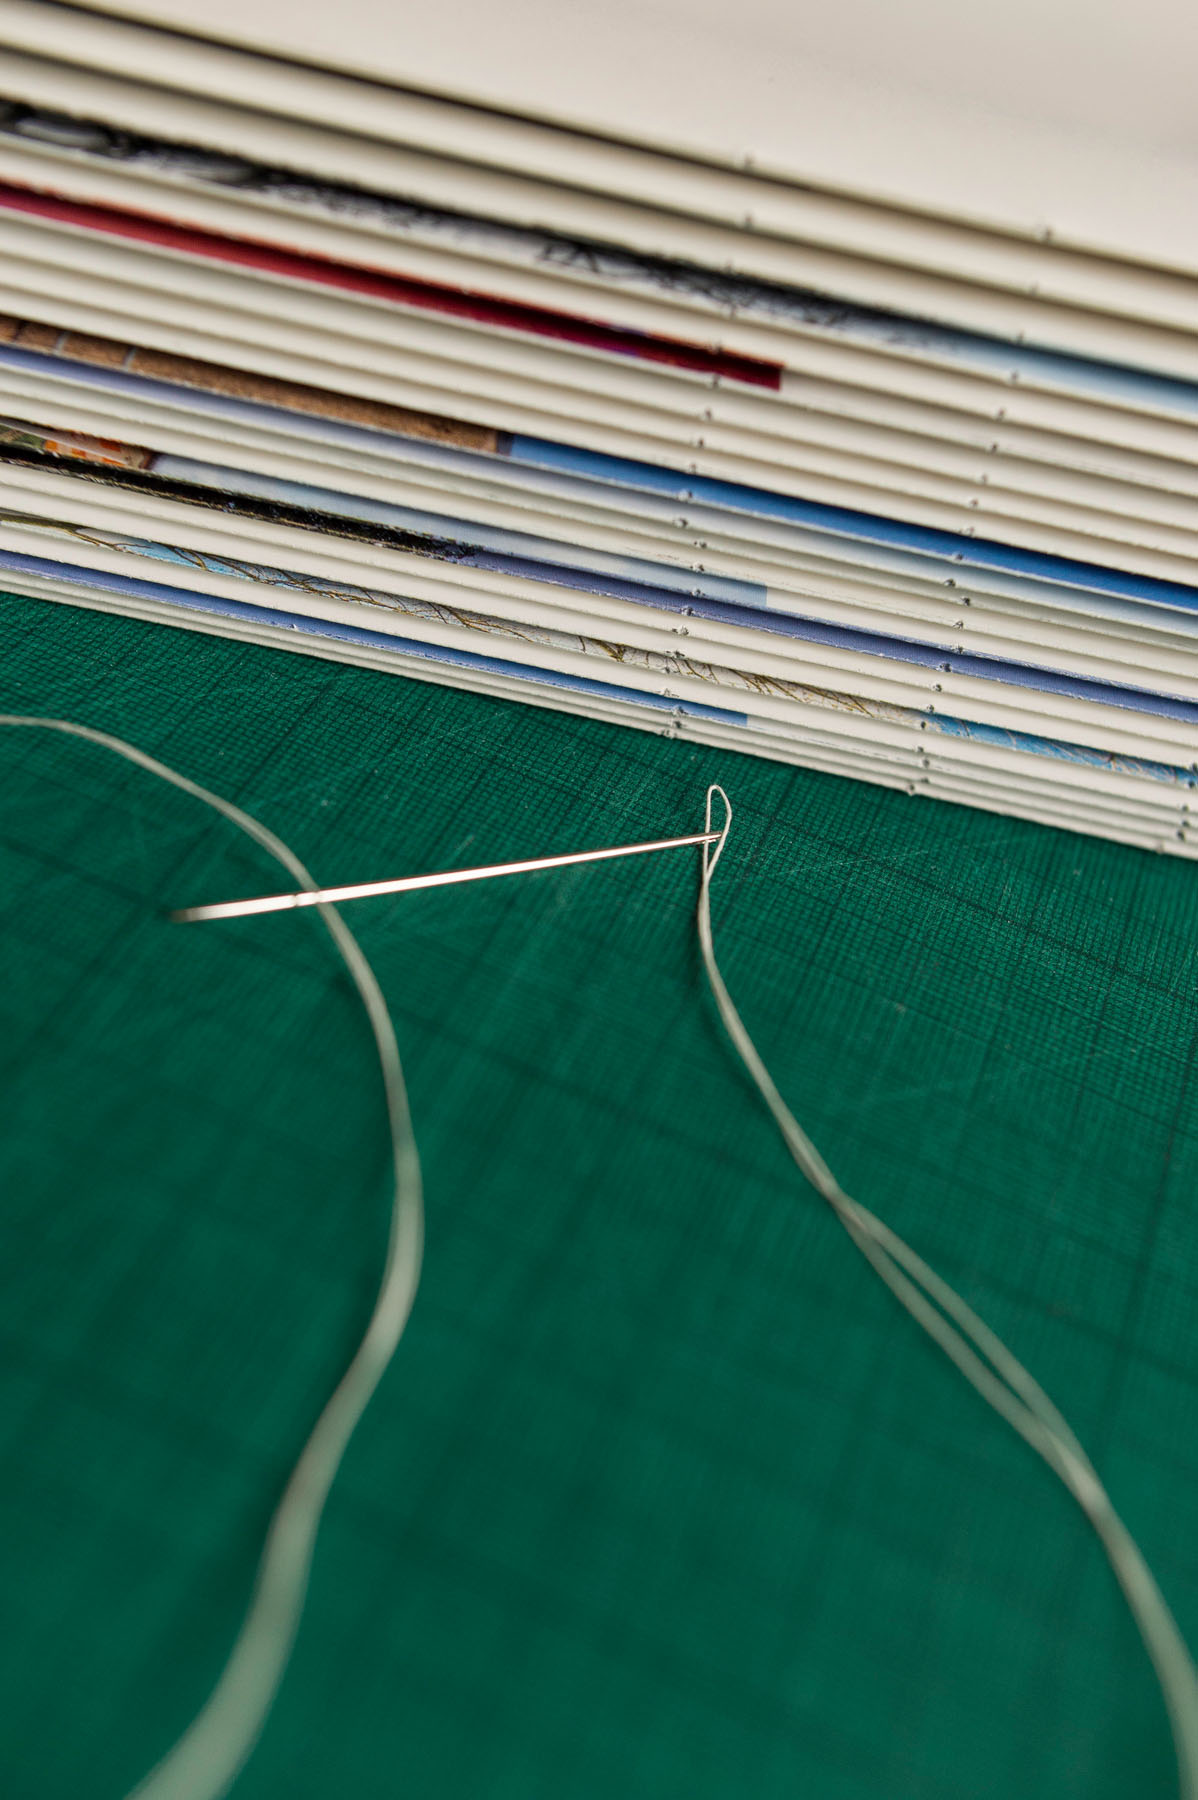
The cover is cut to the same proportions as the folded sheets. Six points are marked on the top signature of the pile. The top three are three centimetres apart, the first being three centimeters from the top. The bottom three follow the same pattern. The ruler is then used to mark a line across all the signatures' edges/centres. On these fresh marks the crewel is used to punch six even holes in each opened signature. One if these signatures is used to mark the same pattern of holes on each cover, this time however being marked a centimetre or so from the cover's edge. The crewel is prepared with a long doubled thread knotted at the end.
Stage 2 - Sewing
The last signature is opened and the thread is taken through the bottom hole until the knot takes. The crewel is then taken through the bottom hole of the back cover at the bottom. The thread is lopped upwards and tightened to form a simple knot. The crewel is pushed back through the same hole back in to the centre of the signature and into the next piercing above. This process is repeated until the final top hole where, rather than re-entering the signature, the next signature is placed on top and the thread is taken through the top piercing of this to the centre. The process repeats until the penultimate signature.
Stage 3 - Attaching the Front Cover
The final unbound signature, the first of the book, lays unattached, with the rest of the book tightly bound. The thread is taken, firstly, though the top or bottom hole of the cover. The thread is then taken between the lower signatures and out again enabling a loop which attaches the cover. The crewel is then taken through the corresponding hole of the loose, final signature. The process is repeated. Once the crewel has passed through the final hole it is tightly tied off and cut.
Stage 4 - Finishing
A cover is printed and glued to the plain card. It is pressed for some time between heavy weights. The finished mock-up book is opened and a feeeling of satisfaction pervades.
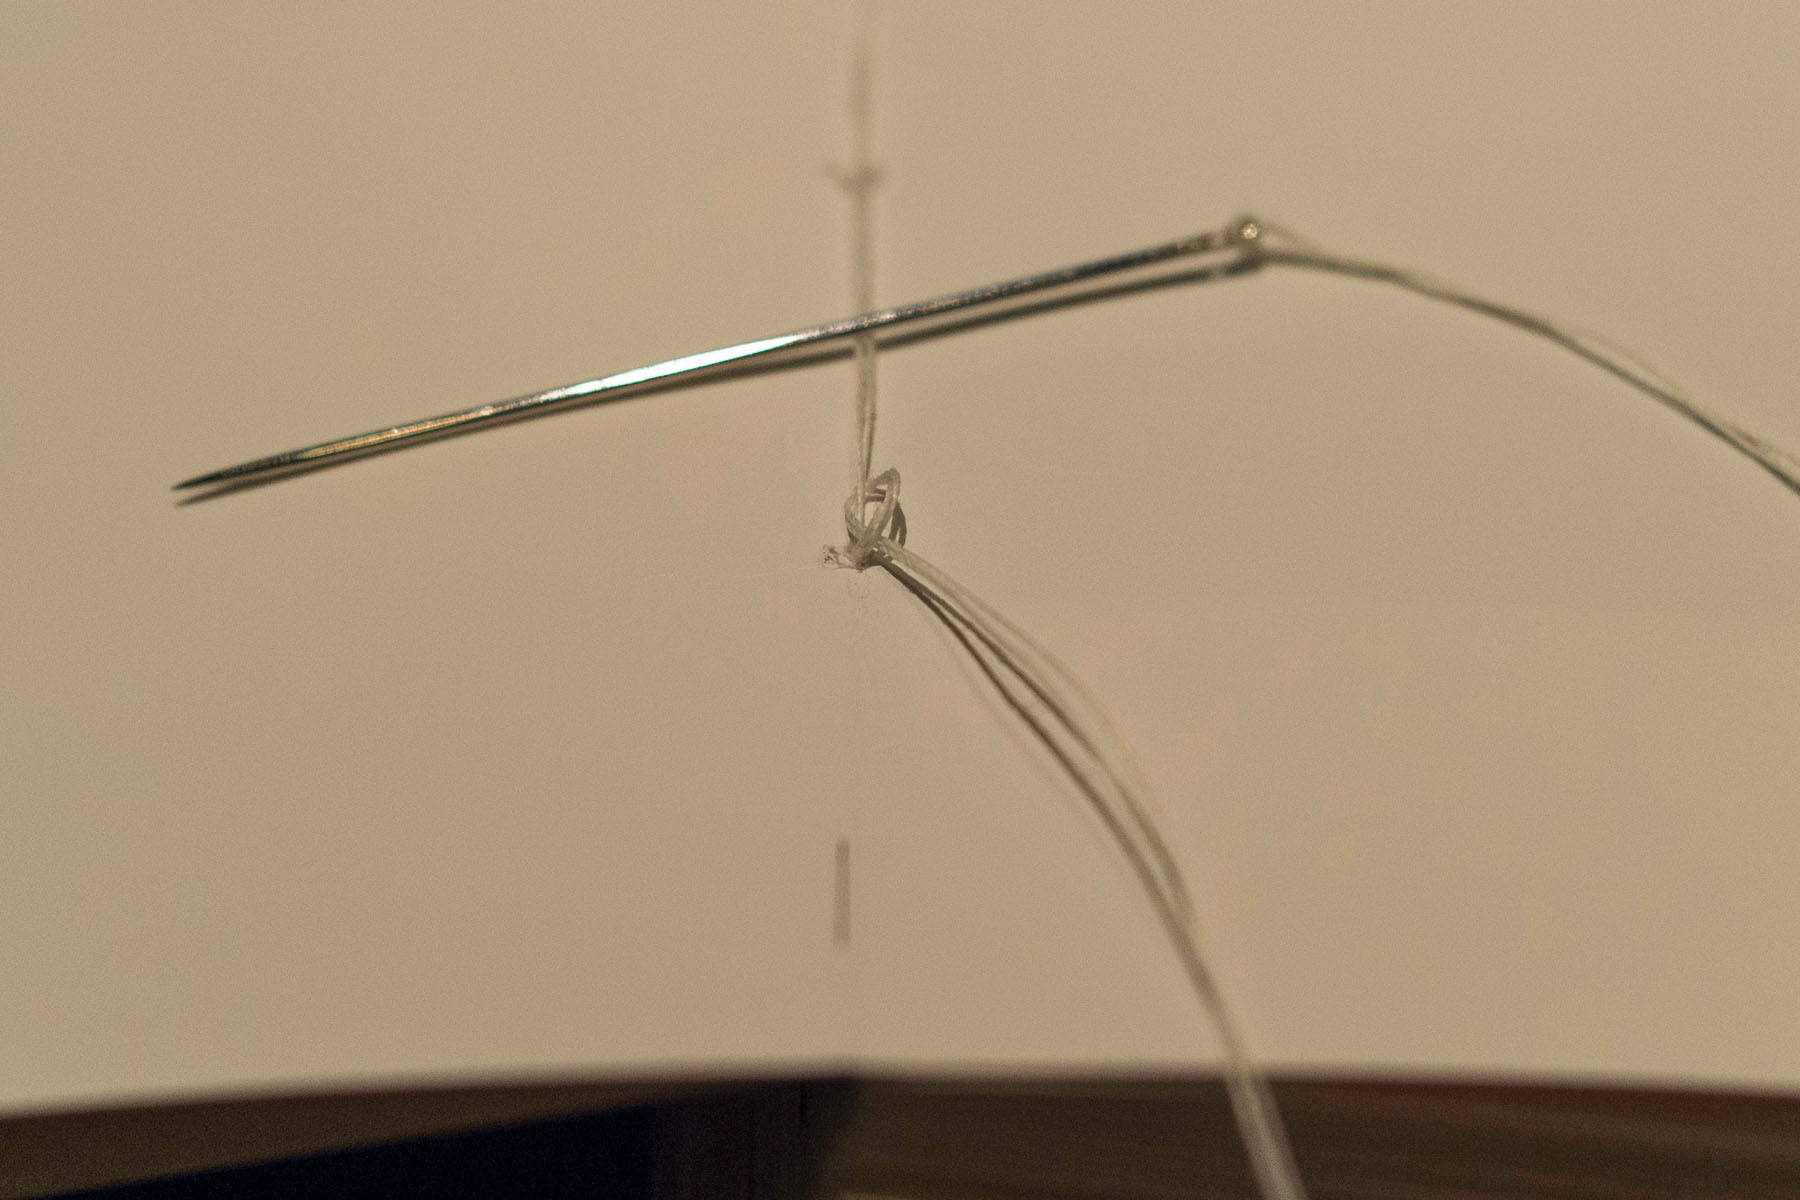
NB. In the fifth photograph below is seen what to do when the thread runs out during binding.


